June 23, 2017
•Last updated November 5, 2023
Let's Build: A Consultancy Website - Part 7
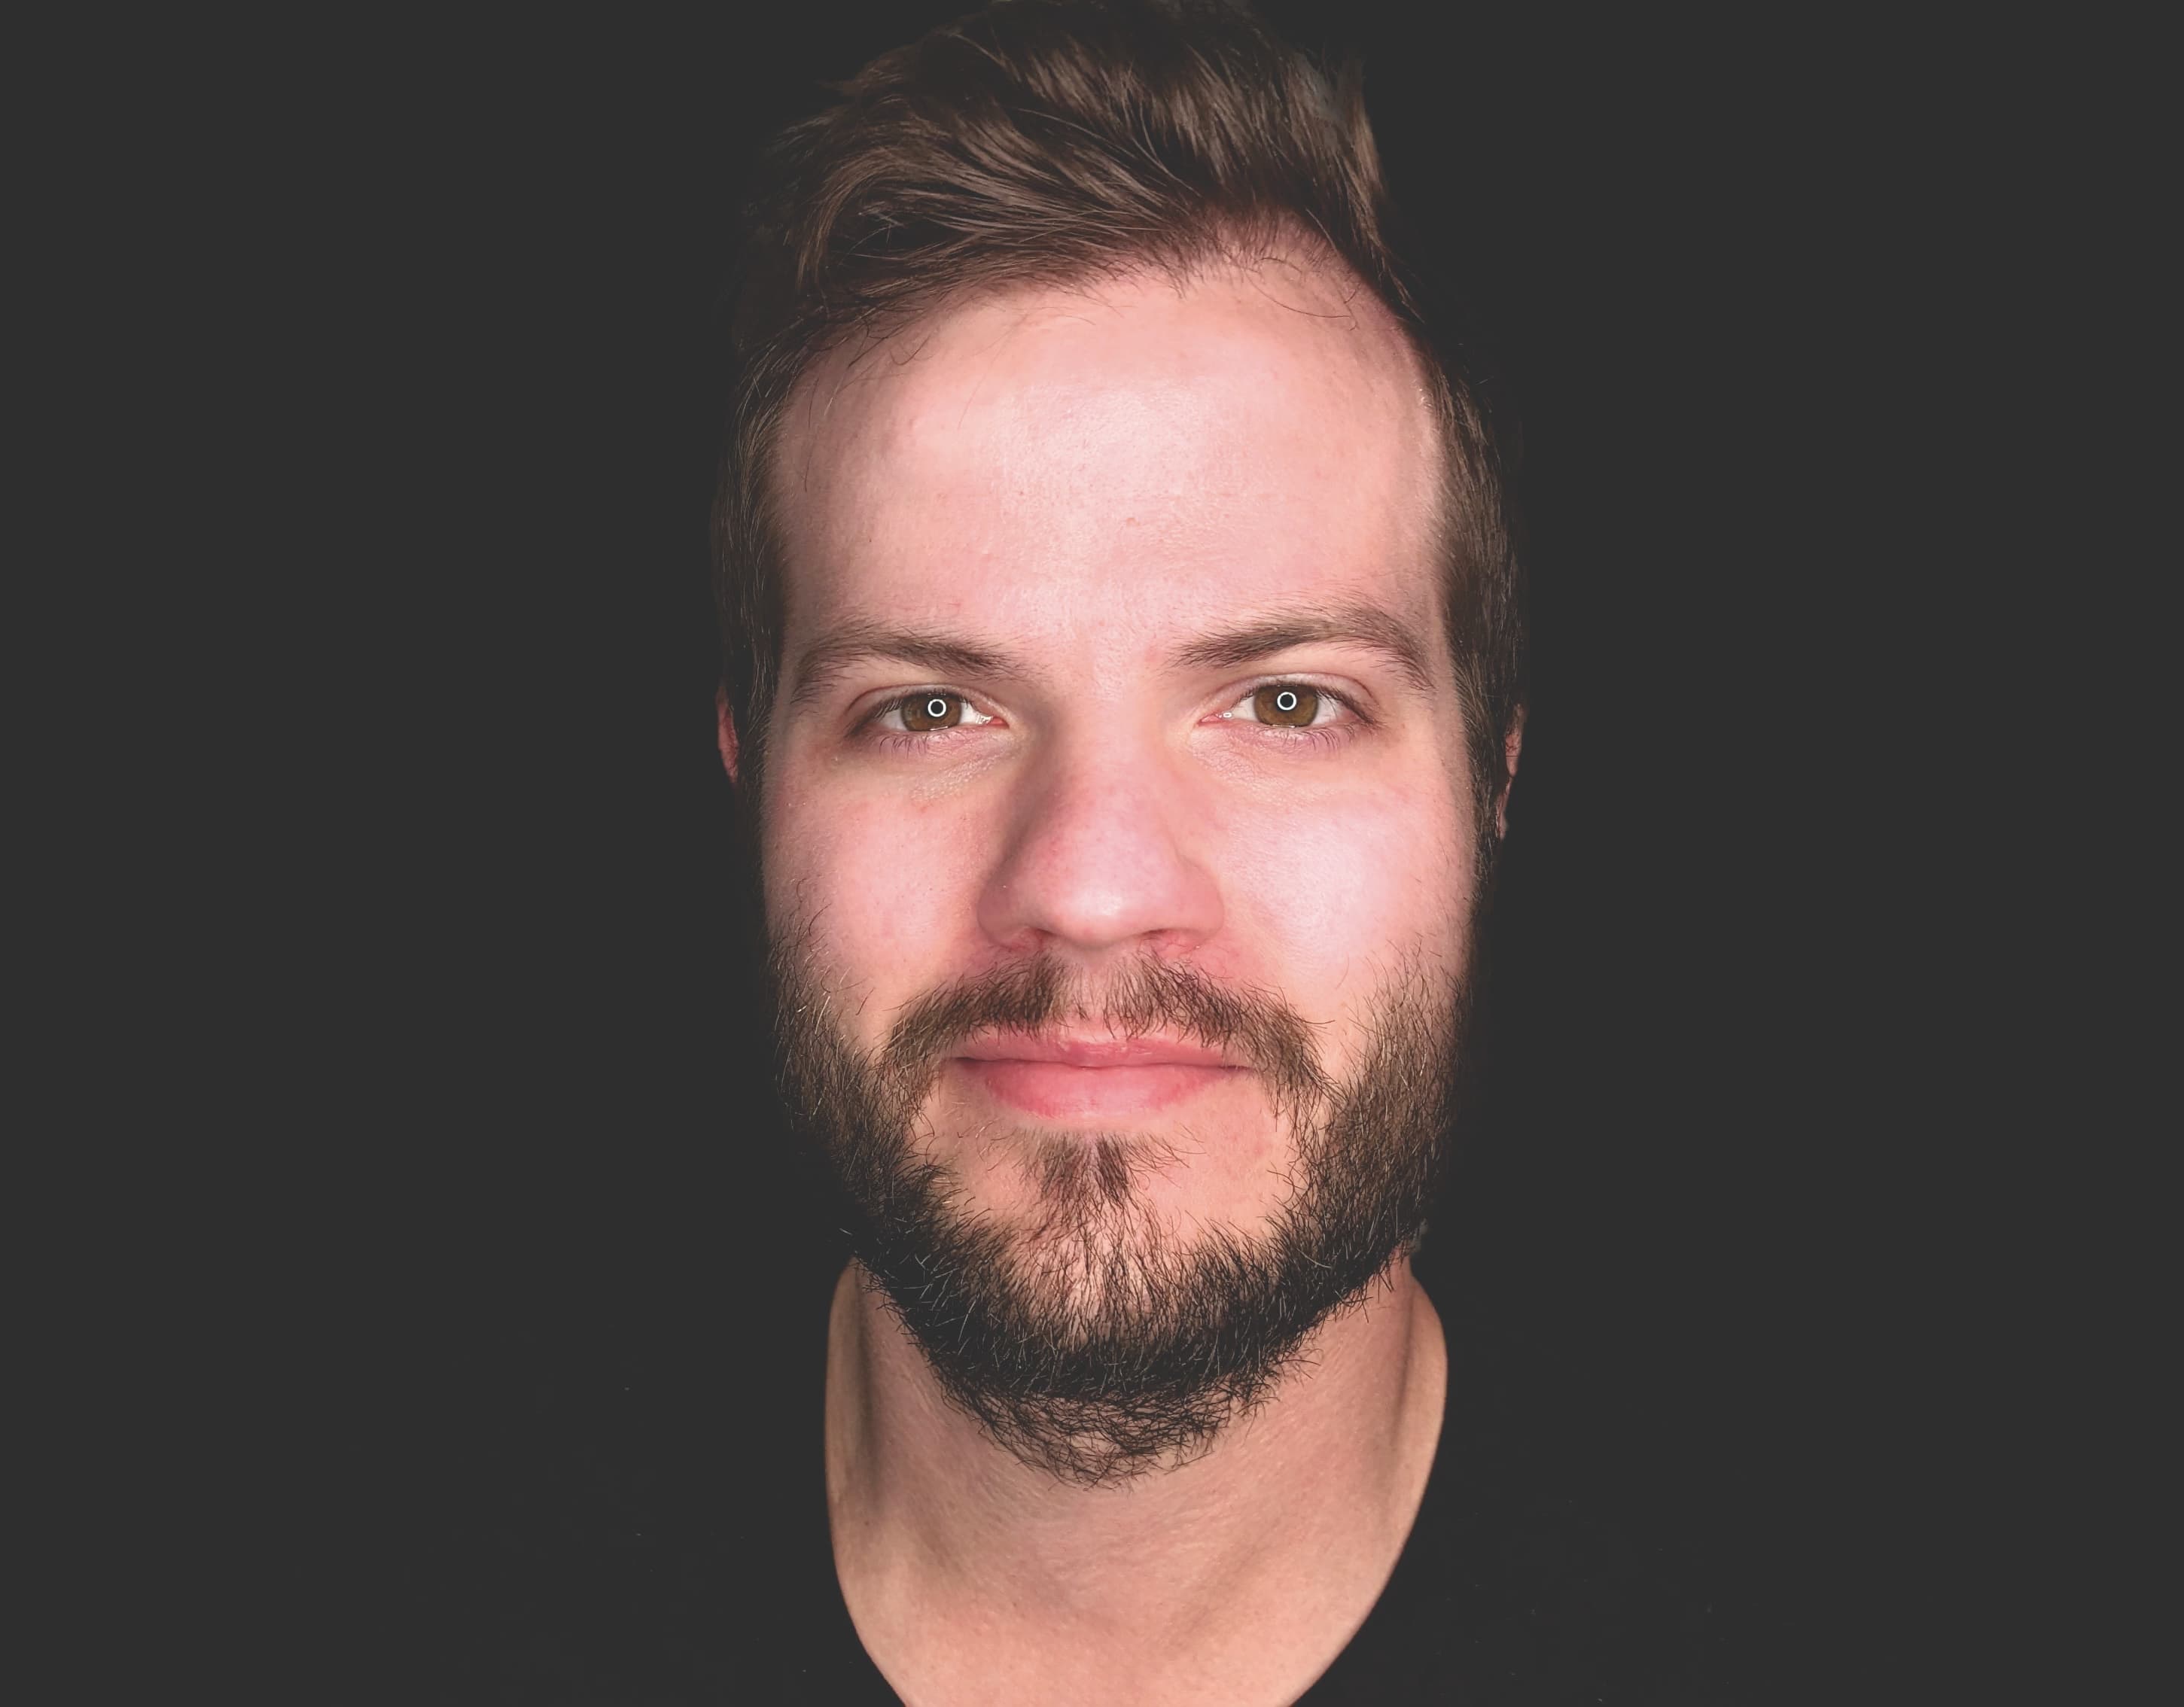
Welcome to part 7 of my "Let's Build" series. If you have been following along, I am finally to the design stage of the website build. In this part of the series, I will share some photographs I shot of our client Alyssa as well as spend time showing you how to edit it inside Affinity Photo.
Shooting and Editing Photography
One of the most common needs for images in projects I take on is the removal of background. If shot correctly you can save a ton of time by using a solid fill background during your photoshoot.
Capturing high-quality photos
Without good photography, editing photos can be a real challenge. I can't stress enough about making sure your photos are up to par before you even open a photo editing application. Pay attention to:
- Proper lighting is a must.
- Shooting as high-resolution photos as possible
- Avoid shooting at night unless that's the look you're after
- Remember to charge your camera batteries as you will likely need the extra juice.
- Go ahead and assume most photos you take won't make the cut. Usually, I only end up with a handful of photos I'm happy with during a shoot (sometimes none at all ).
- A good camera is in order. Phones and handheld cameras have come a long way and work for various applications but a true DSLR camera is where it's at. I shoot RAW photos that you can't do with a handheld device like an iPhone.
Lighting gear and tips
I bought a cheaper lighting set off Amazon to handle lighting and also planned our small photoshoot in the early part of the day. The lighting in the early morning hours tends to lend a hand to many photos I've shot in the past. The same can be said for dusk so try your best to shoot at these times if you're considering doing something similar to what I have.
Setting the scene
I shot the photos you'll see in the video right inside my home. I simply staged a table with a nice plant, MacBook Pro, and a cup of coffee. This may be the hip thing to do but I think the setting I created in zero time turned out well. You can probably accomplish the same thing inside your home if you get creative. Having gadgets isn't terribly important but it does give the model in the photo something more to focus on.
I told Alyssa to look to both the MacBook and her phone in a few shots while the rest were portrait shots for the most part. One thing I wish we did was switch wardrobe to offer more variance in styles. Lucky for me I can recreate the scene and shoot more whenever I like. In your case, you may come better prepared!
Editing in Affinity Photo
There are a number of great photo editing applications out there. I used Lightroom for a very long time but have since transitioned to Affinity Photo. It offers very similar features at a cheaper price.
Since I shot RAW photos the importing process is a bit different when you open a file. A new user experience opens known as the Developing persona. In this persona, you can tweak general settings as well as more advanced with the click of a button. I tend to start small in this mode and later work my way towards adding more refined details later on.
In the video above you may have noticed me needing to remove the background of a headshot of Alyssa. This process is rather tedious and hard to get right. After a few attempts I got something acceptable but as you'll see in the next part of the series, I'll redo the removal of the background entirely!
I hope you'll stay tuned!
The Series So Far
Categories
Collection
Part of the Let's Build: A Consultancy Website collection
Products and courses
-
Hello Hotwire
A course on Hotwire + Ruby on Rails.
-
Hello Rails
A course for newcomers to Ruby on Rails.
-
Rails UI
UI templates and components for Rails.
